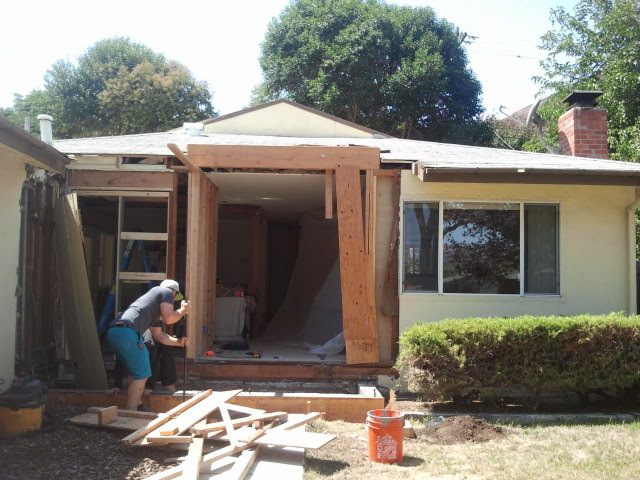
So when we last left off, we were living with a gaping hole between our living room and kitchen, and had just realized that there was a lot more to this whole “house flipping” deal than we had really anticipated.
After smashing a sizable chunk of our house out, we started “adulting” and walked down the two blocks to our local city hall and got our plans approved. Permits in hand, the now official plan would include a small addition of about 40 square feet and included a nice bump out to create a larger entry way space and would utilize a funky dead space in the front yard for a kitchen pantry. We would keep the additional weight bearing beams and columns between the living and kitchen spaces, but open up as much as we could to create a light, airy feel. A built-in breakfast nook would replace the awkward empty space at the end of the kitchen.


We pulled out the existing interior/exterior sliders and went with a large window and single door to join the kitchen to our covered patio. The addition of the skylight is one of my favorite things we did as it really helped with the light issue in the room.


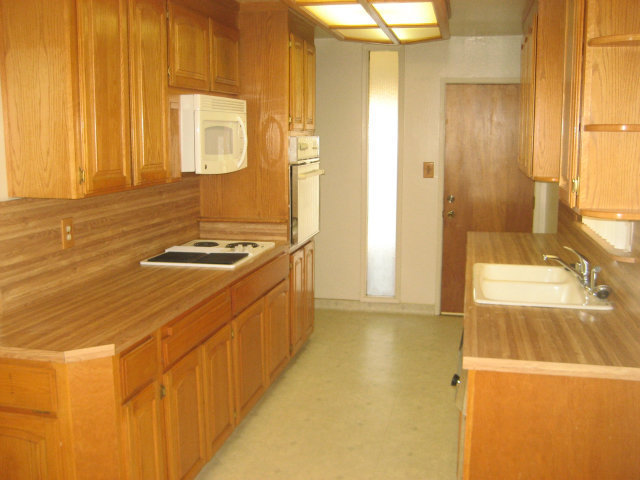
In the above photo you can see the new small pocket door leading to a new pantry. The photo below shows the old set-up.
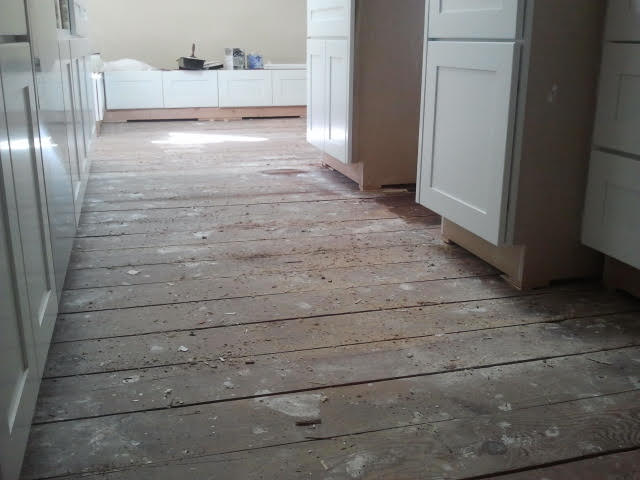
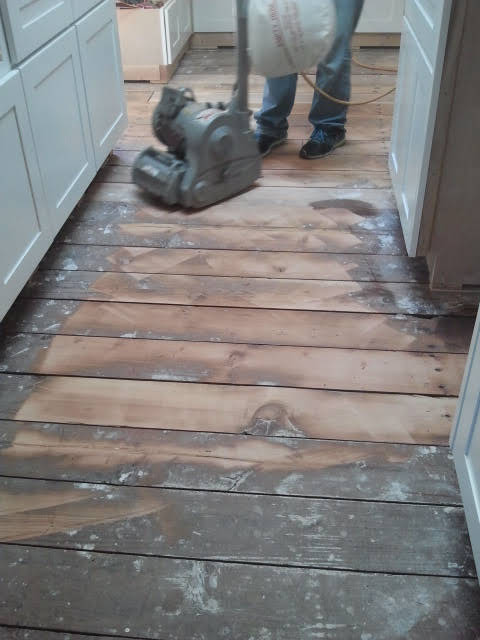
Initially, we were going to go with a faux-wood tile flooring for the kitchen. When we (ahem, Brian) ripped up the linoleum, I had a little problem. I fell in love. With the wood underneath that is. Brian patiently explained that this was called sub-floor and as the name implied, it belonged SUB or under the floor.
“But it’s such pretty wood!”
“But it’s the SUB-FLOOR.”
“But it’s pretty!!”
Large puppy eye’d looks ensued. He agreed to try sanding and staining a small portion of the floor.

So pretty right?! And cheap. As in practically free. So I won that battle contingent that we could cover it up with tile if it completely failed.
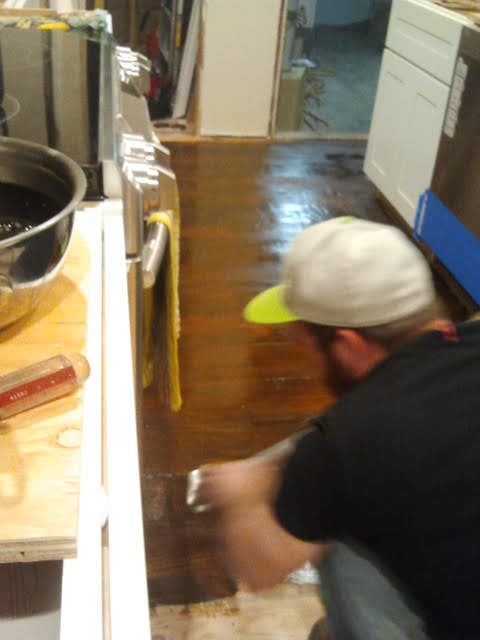
So we spent the next few weekends and after work hours making the pretty sub-floors prettier. We selected cabinetry from Home Depot. They were middle of the line but we loved the simple look and it came with free soft-close hardware which was a nice bonus.
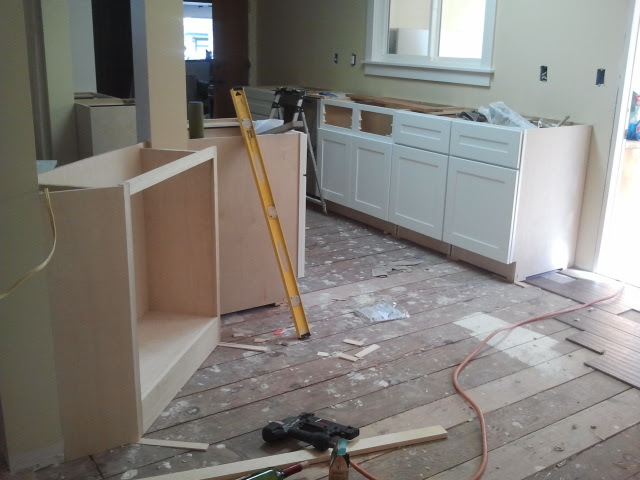
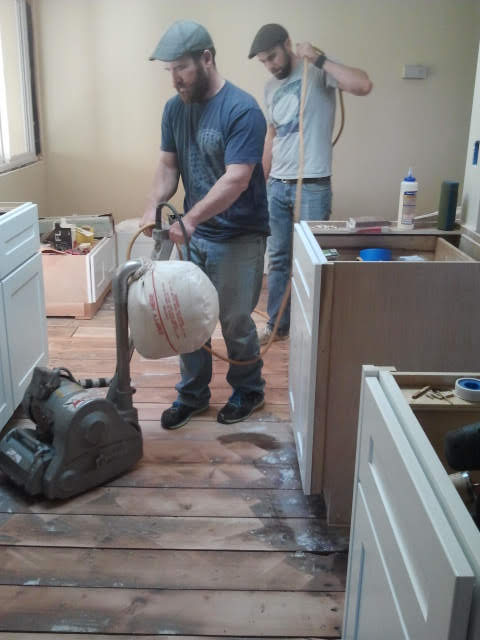
We had a lot of outside help on this project. Standing behind Brian here is actually our wonderful associate pastor, who is always willing to dive right in and get his hands dirty on a house project. Can I get a Hallelujah and Amen?!
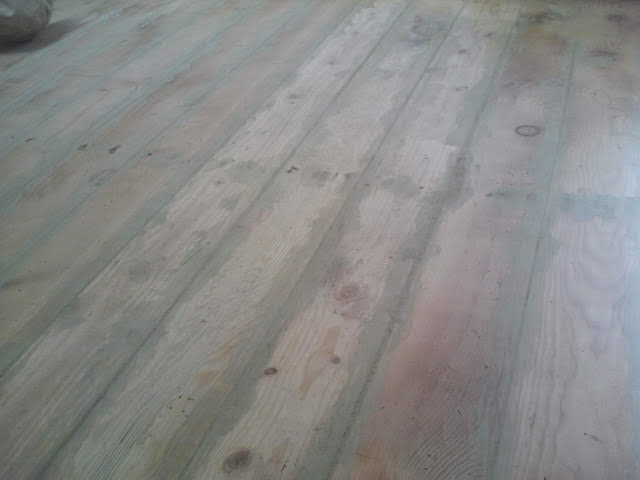
After sanding down the grime, we were left with some very beautiful wood, but as you can see there were large gaps left between the boards. We weren’t quite sure how to fill these. Even Google was a little perplexed because apparently, not many people have done this before. So after some creative thinking, we decided to go with a mixture of sawdust and wood glue which would then get stained to seal the whole thing. The entire idea was a big experiment so we figured we had nothing to lose at this point.

Seeing these pictures makes me lament a bit that we decided to go with a dark stain. But at the time, that’s the direction we were going, so on went the stain.
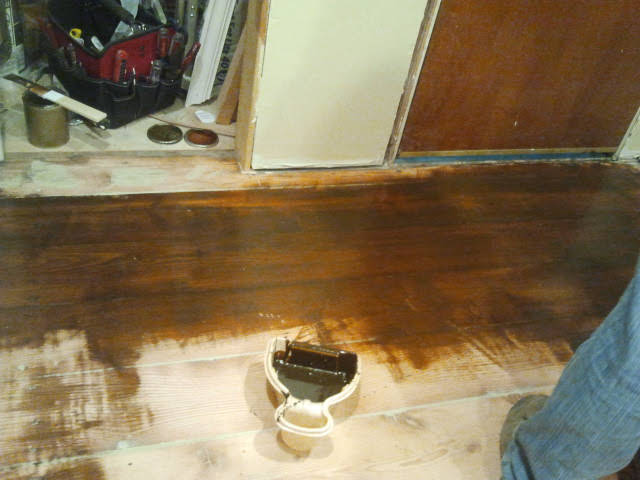
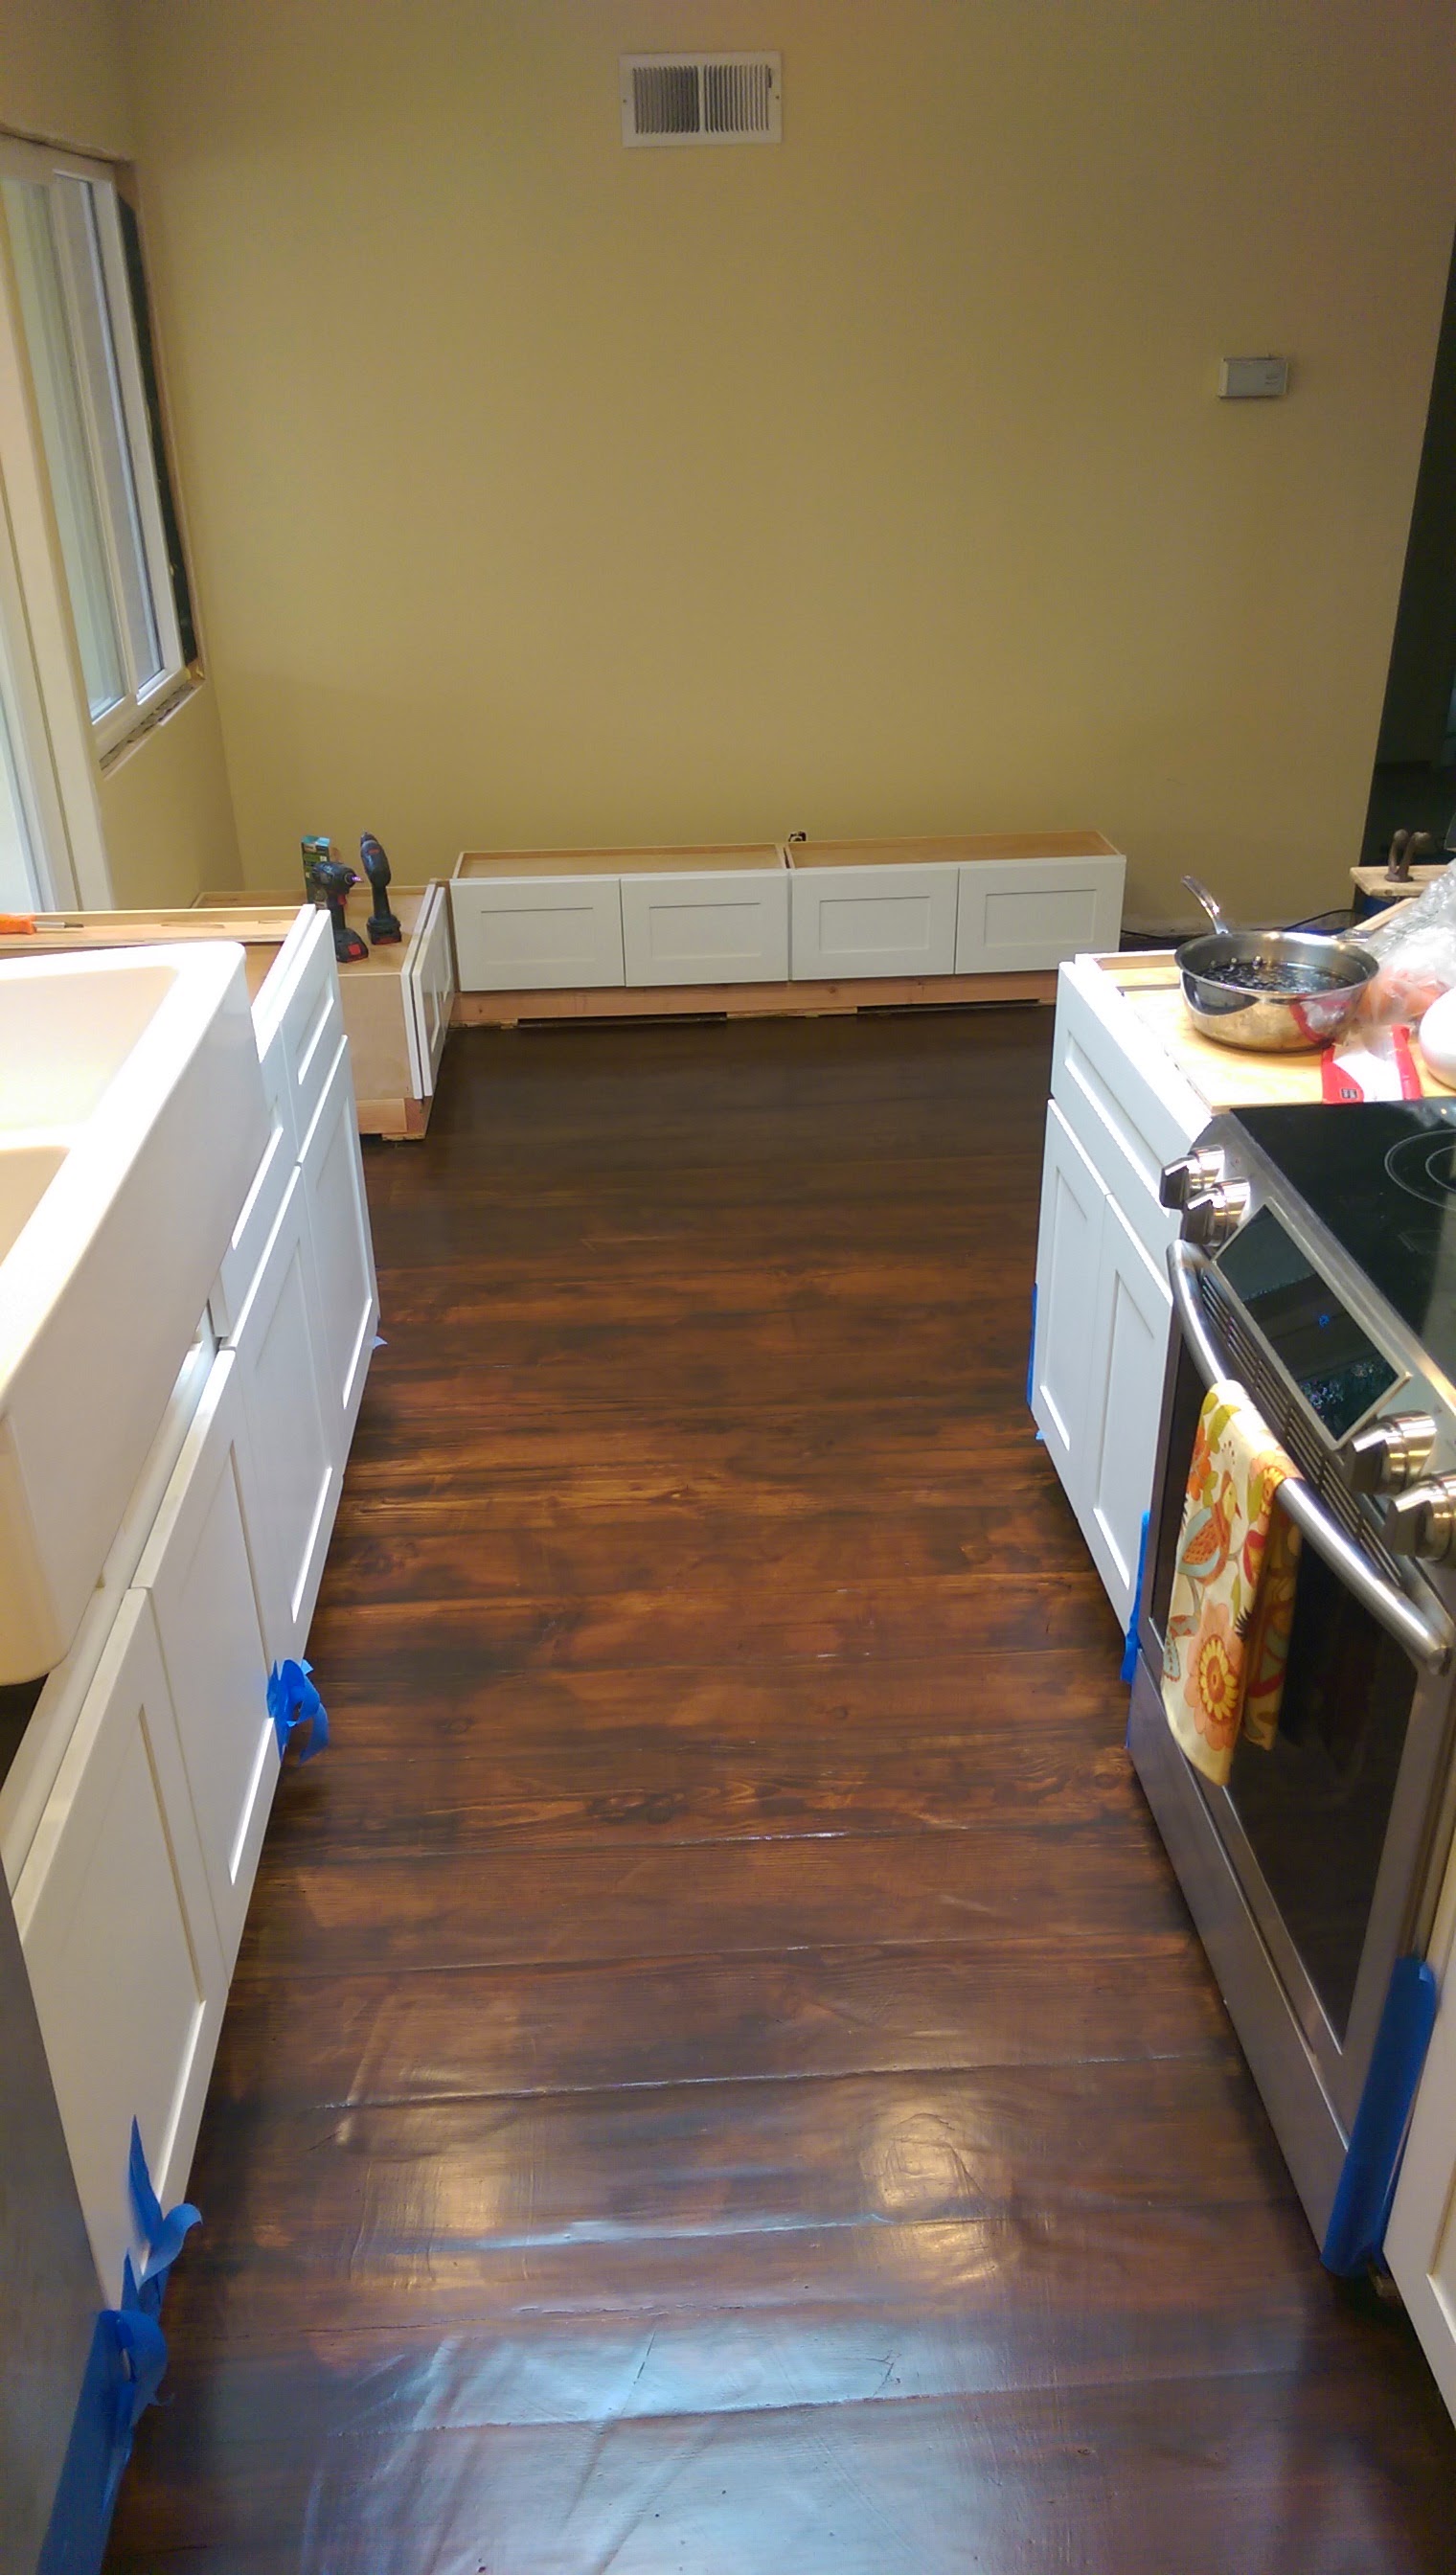
I actually kind of love that the sander left these big grooves in the floor. The look is that of 100 year old farmhouse wood and I love the lived in look.
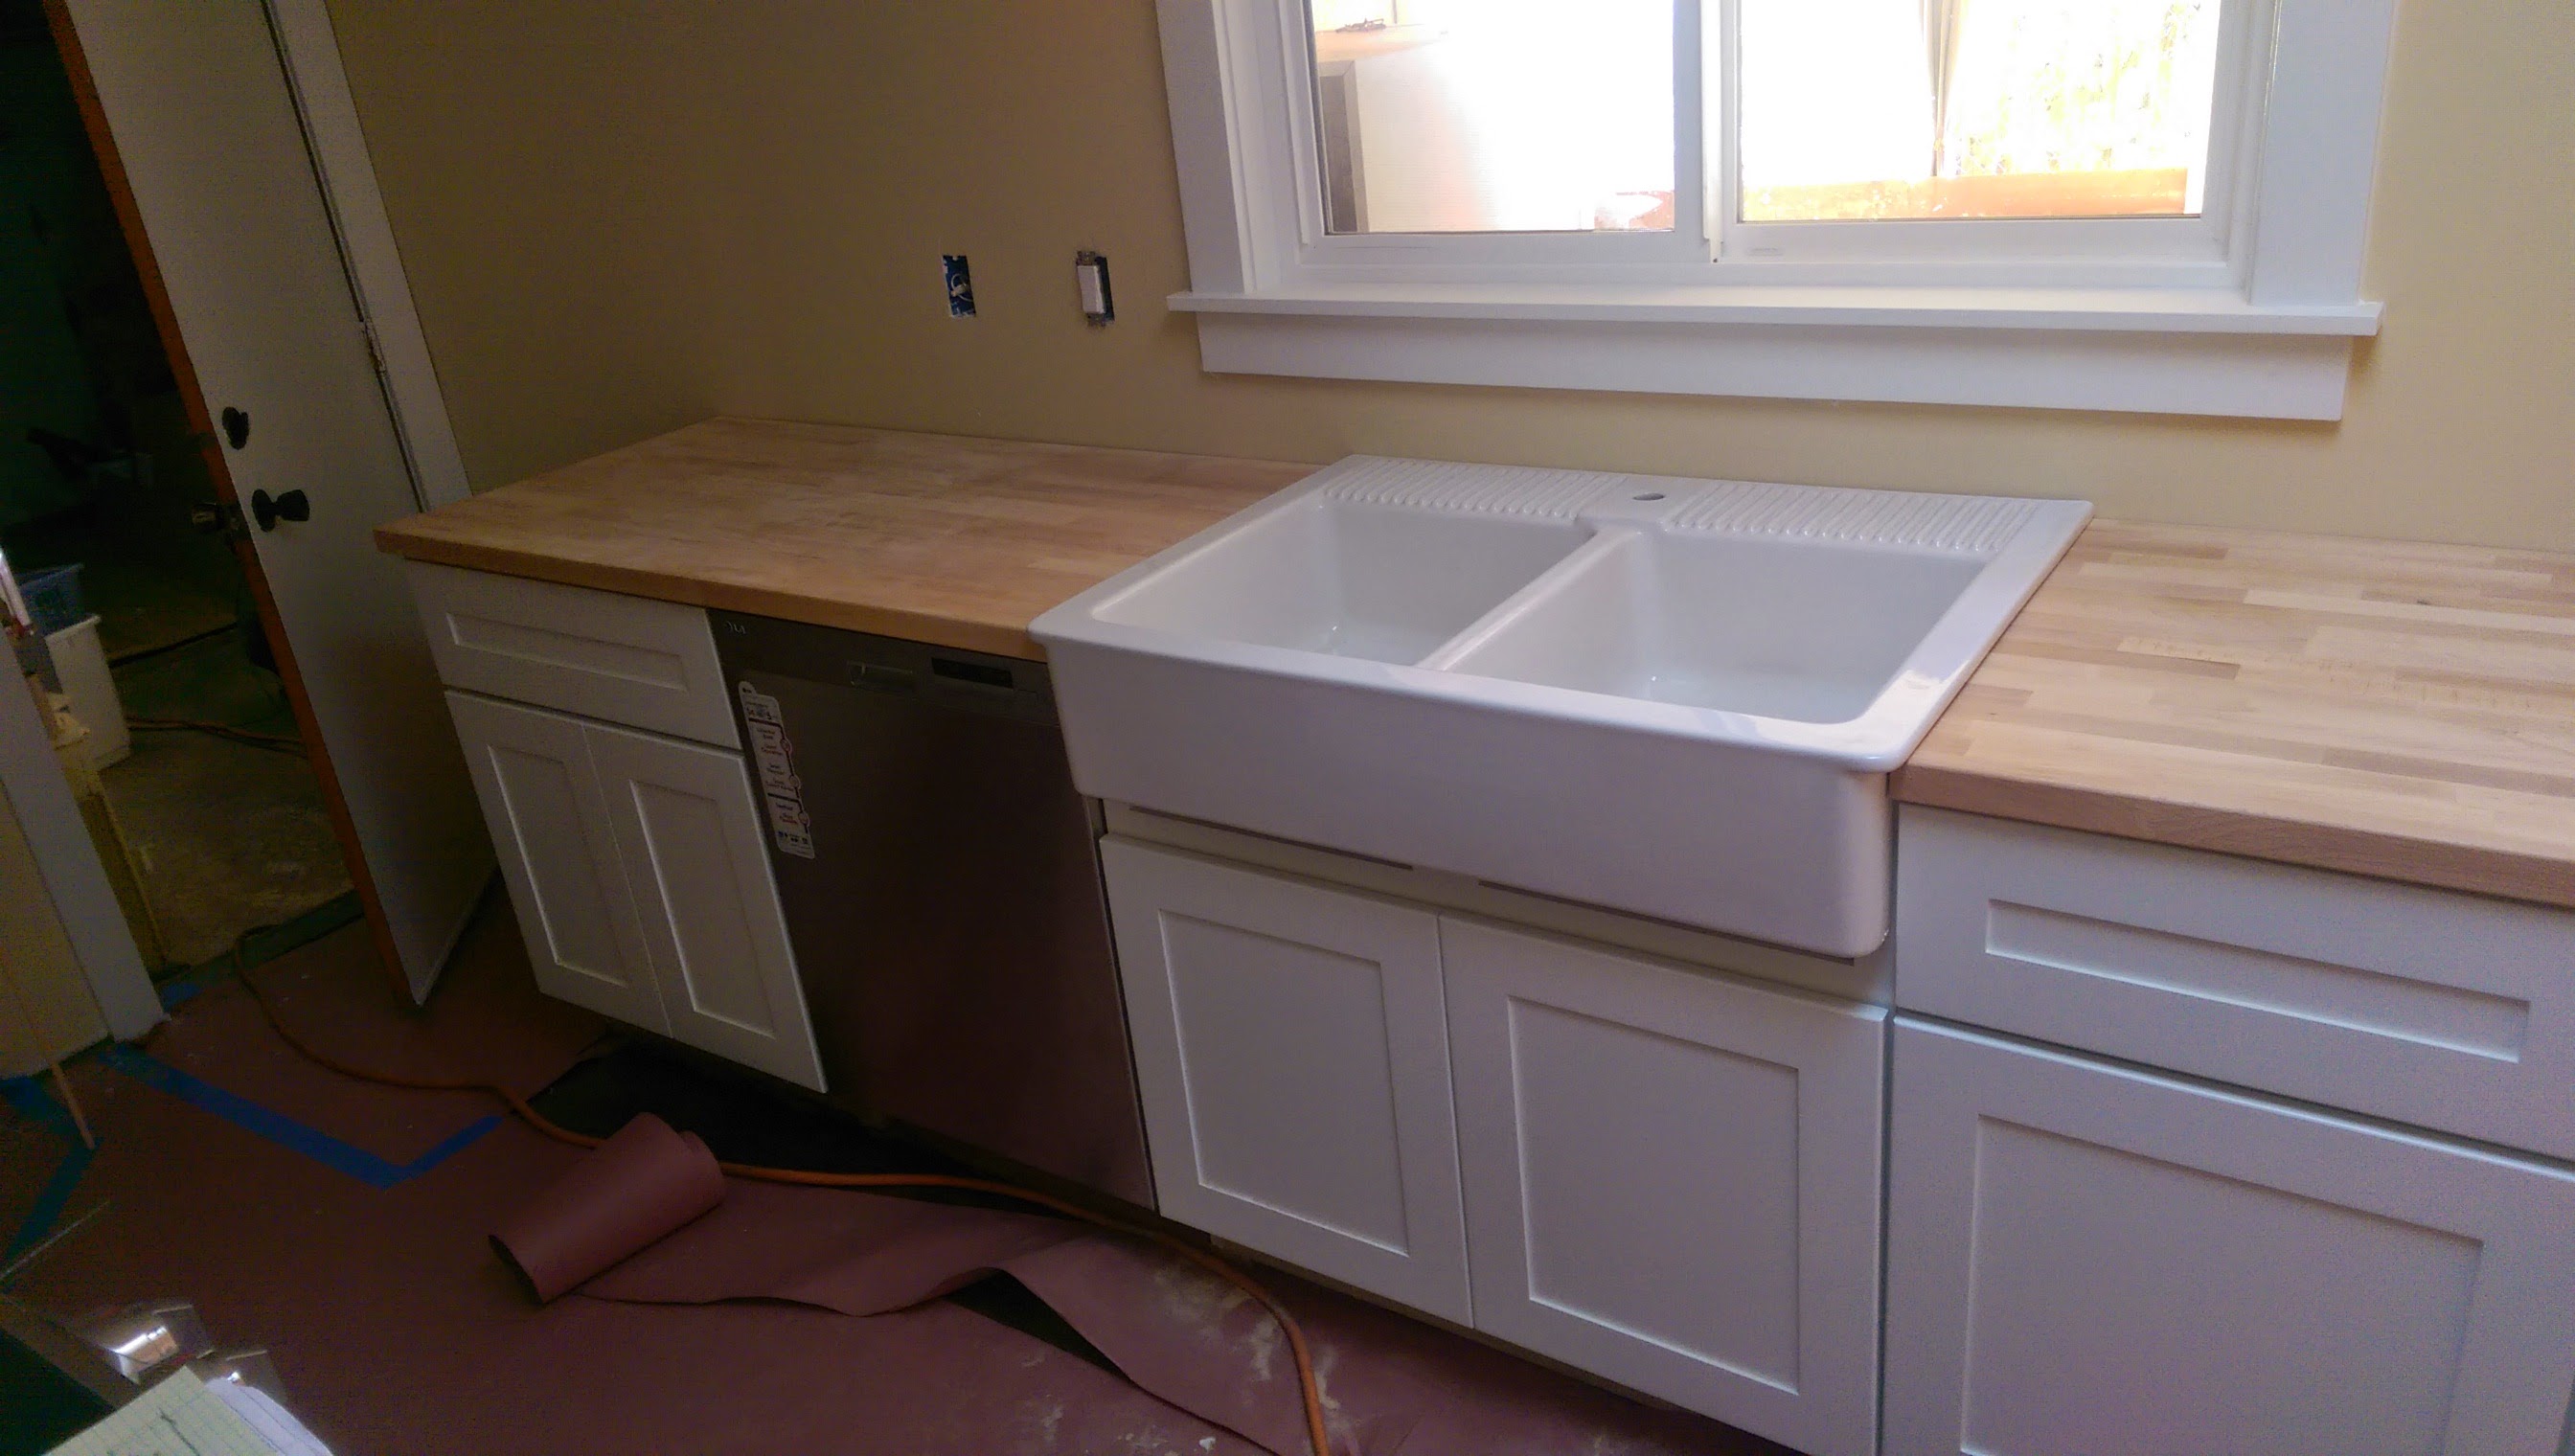
Like most decisions we made on this kitchen, the counter tops were something we really went back and forth on. In my brain I had pictured the white-with-some-grey-flecked-marble that I had seen floating around everywhere in social media. However after researching prices, especially with the funky shape that we were dealing with, I started to reconsider. I also really like the look of butcher-block and at a fraction of the cost, it seemed to make more sense. We got ours from Ikea and it was a steal.
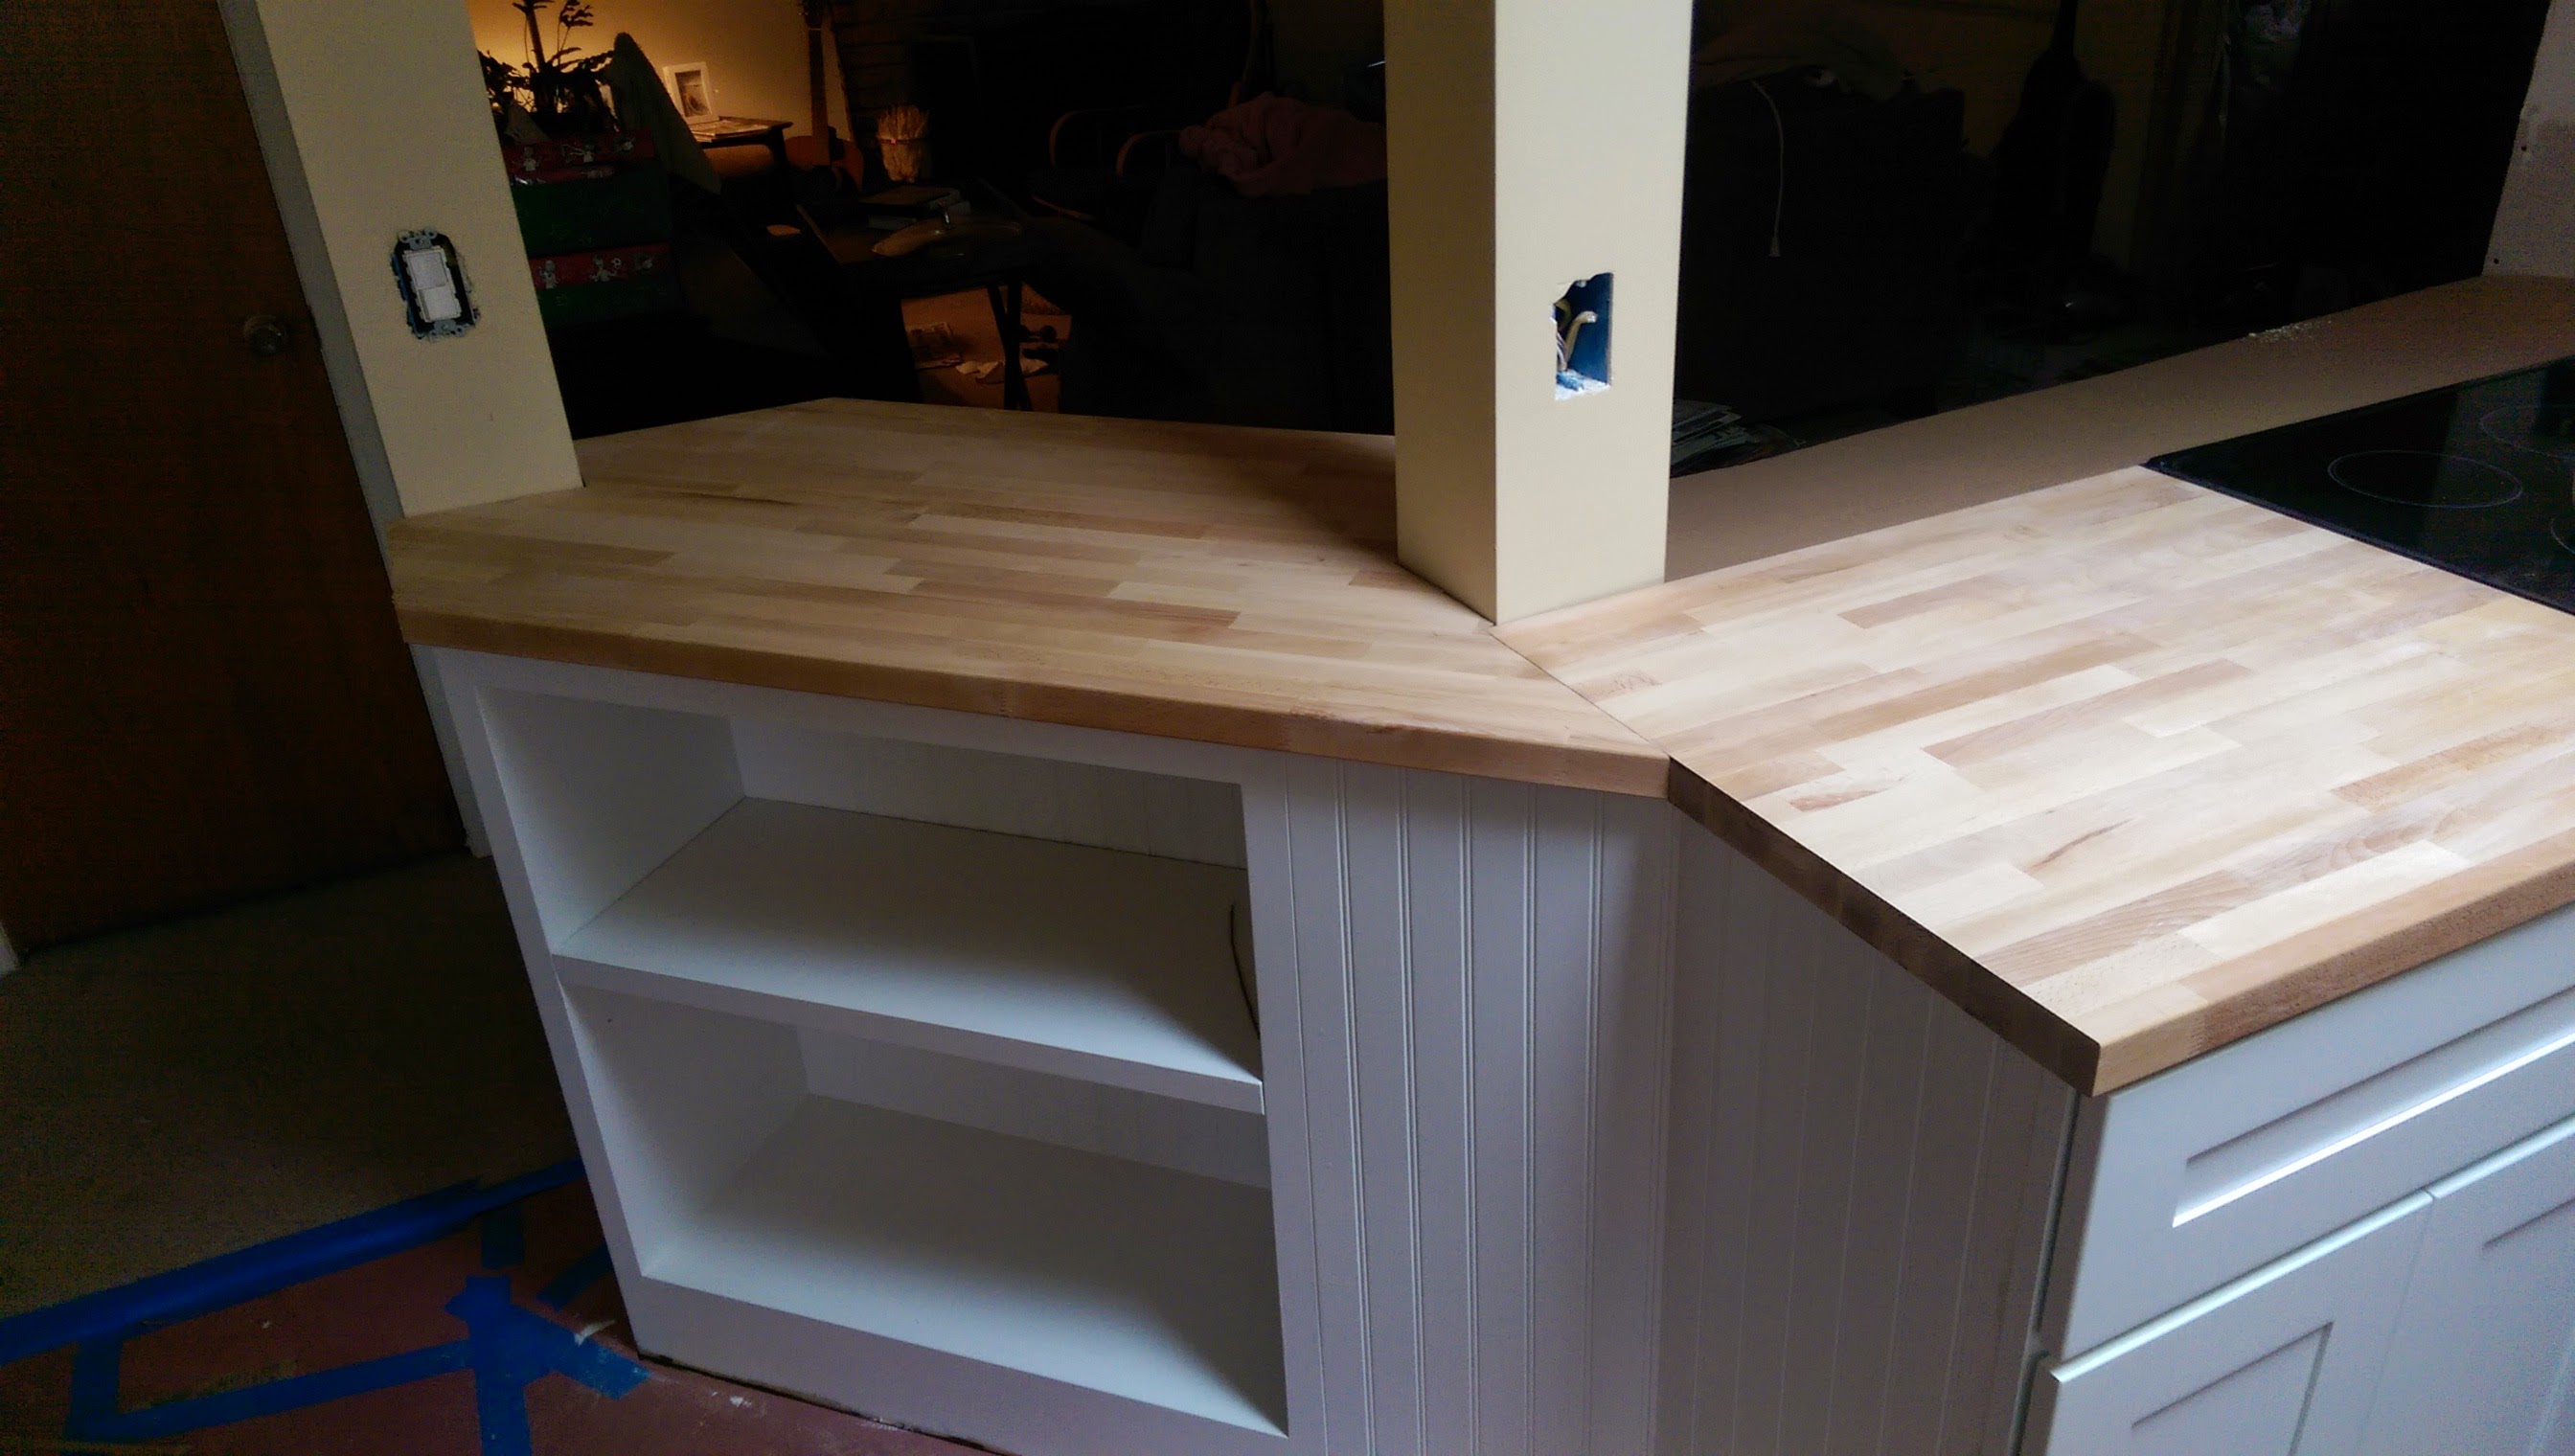
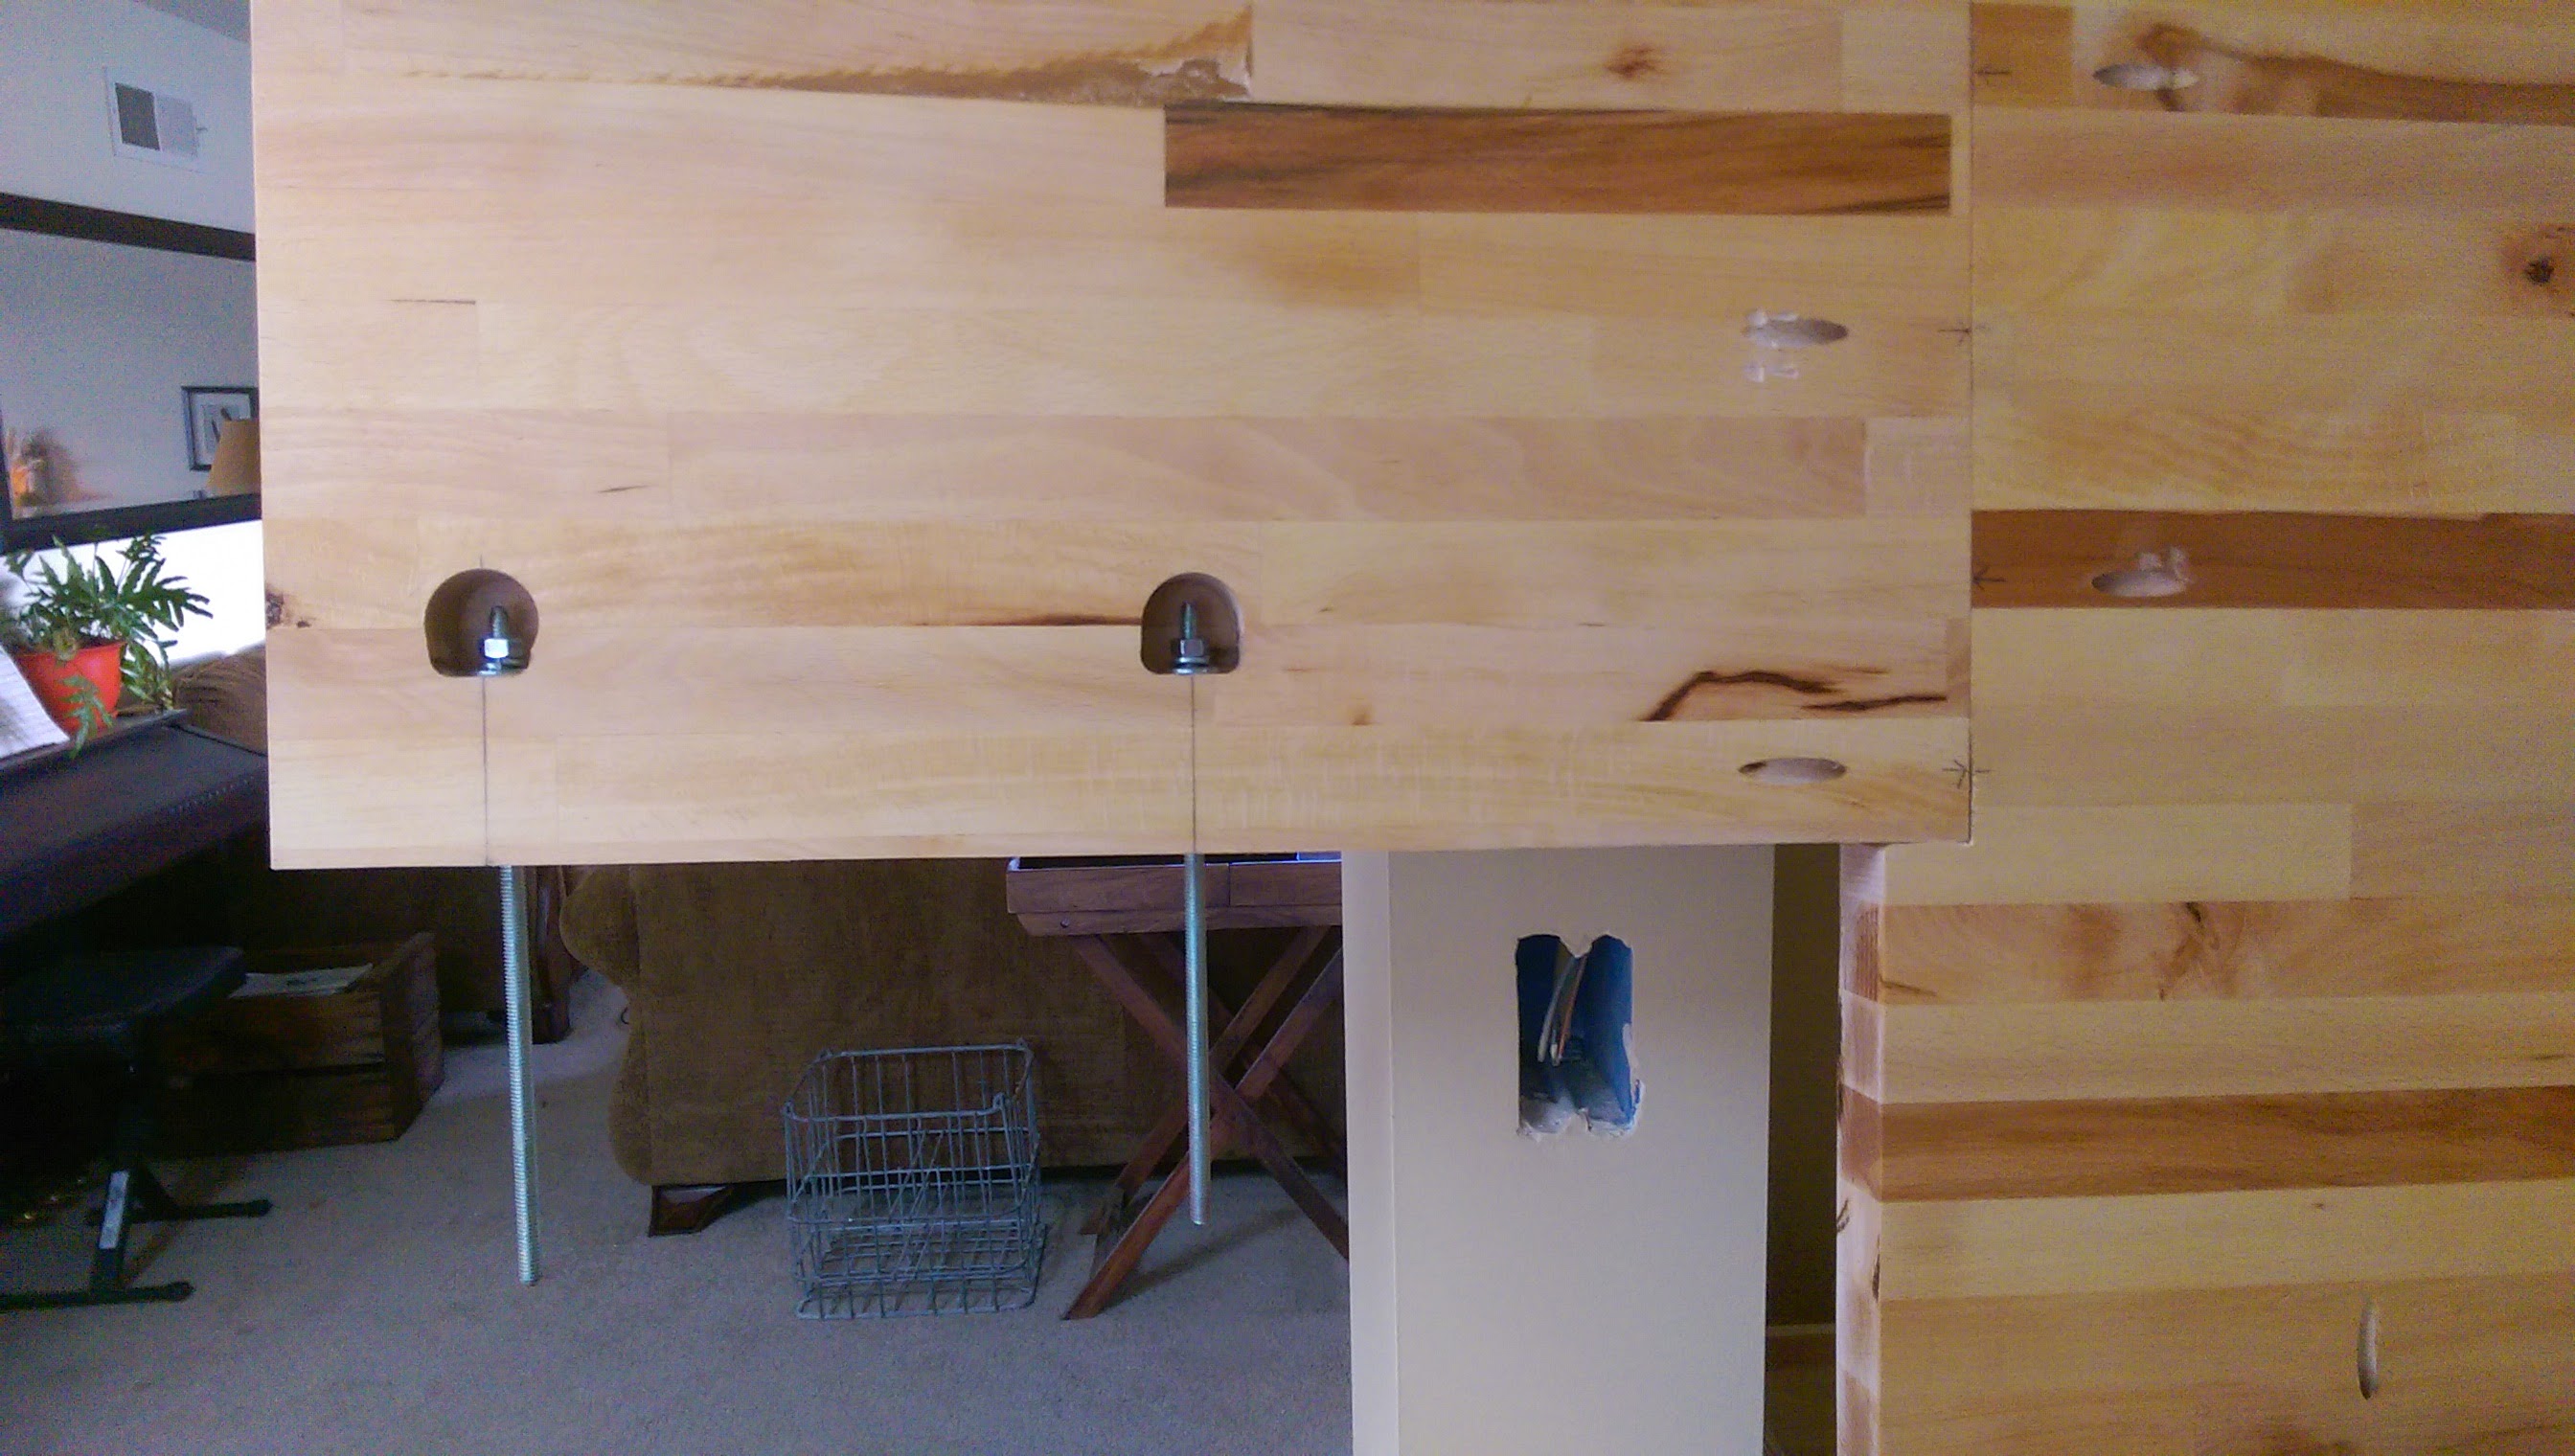
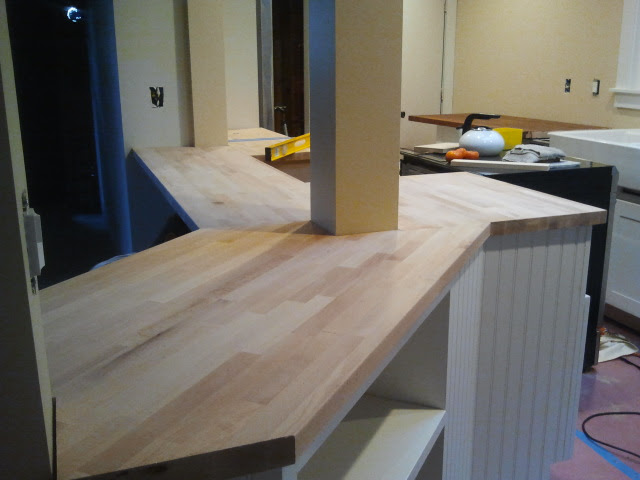
Brian is an engineer by trade and his wizardry in pretty much everything he does never ceases to amaze me. Putting these counters together required some serious crafting and logistics. Since I have no idea what this exactly entailed, here it is from the (reluctant) horse’s mouth;
“The butcher block counter that was to be the peninsula needed to wrap around the columns and be as monolithic as possible to prevent cracks at the joints after finish, hence the tricky router pockets and all-thread pictured below.” -BR
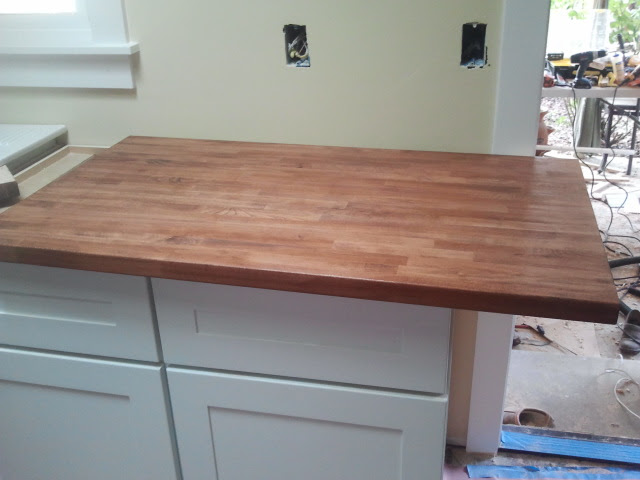
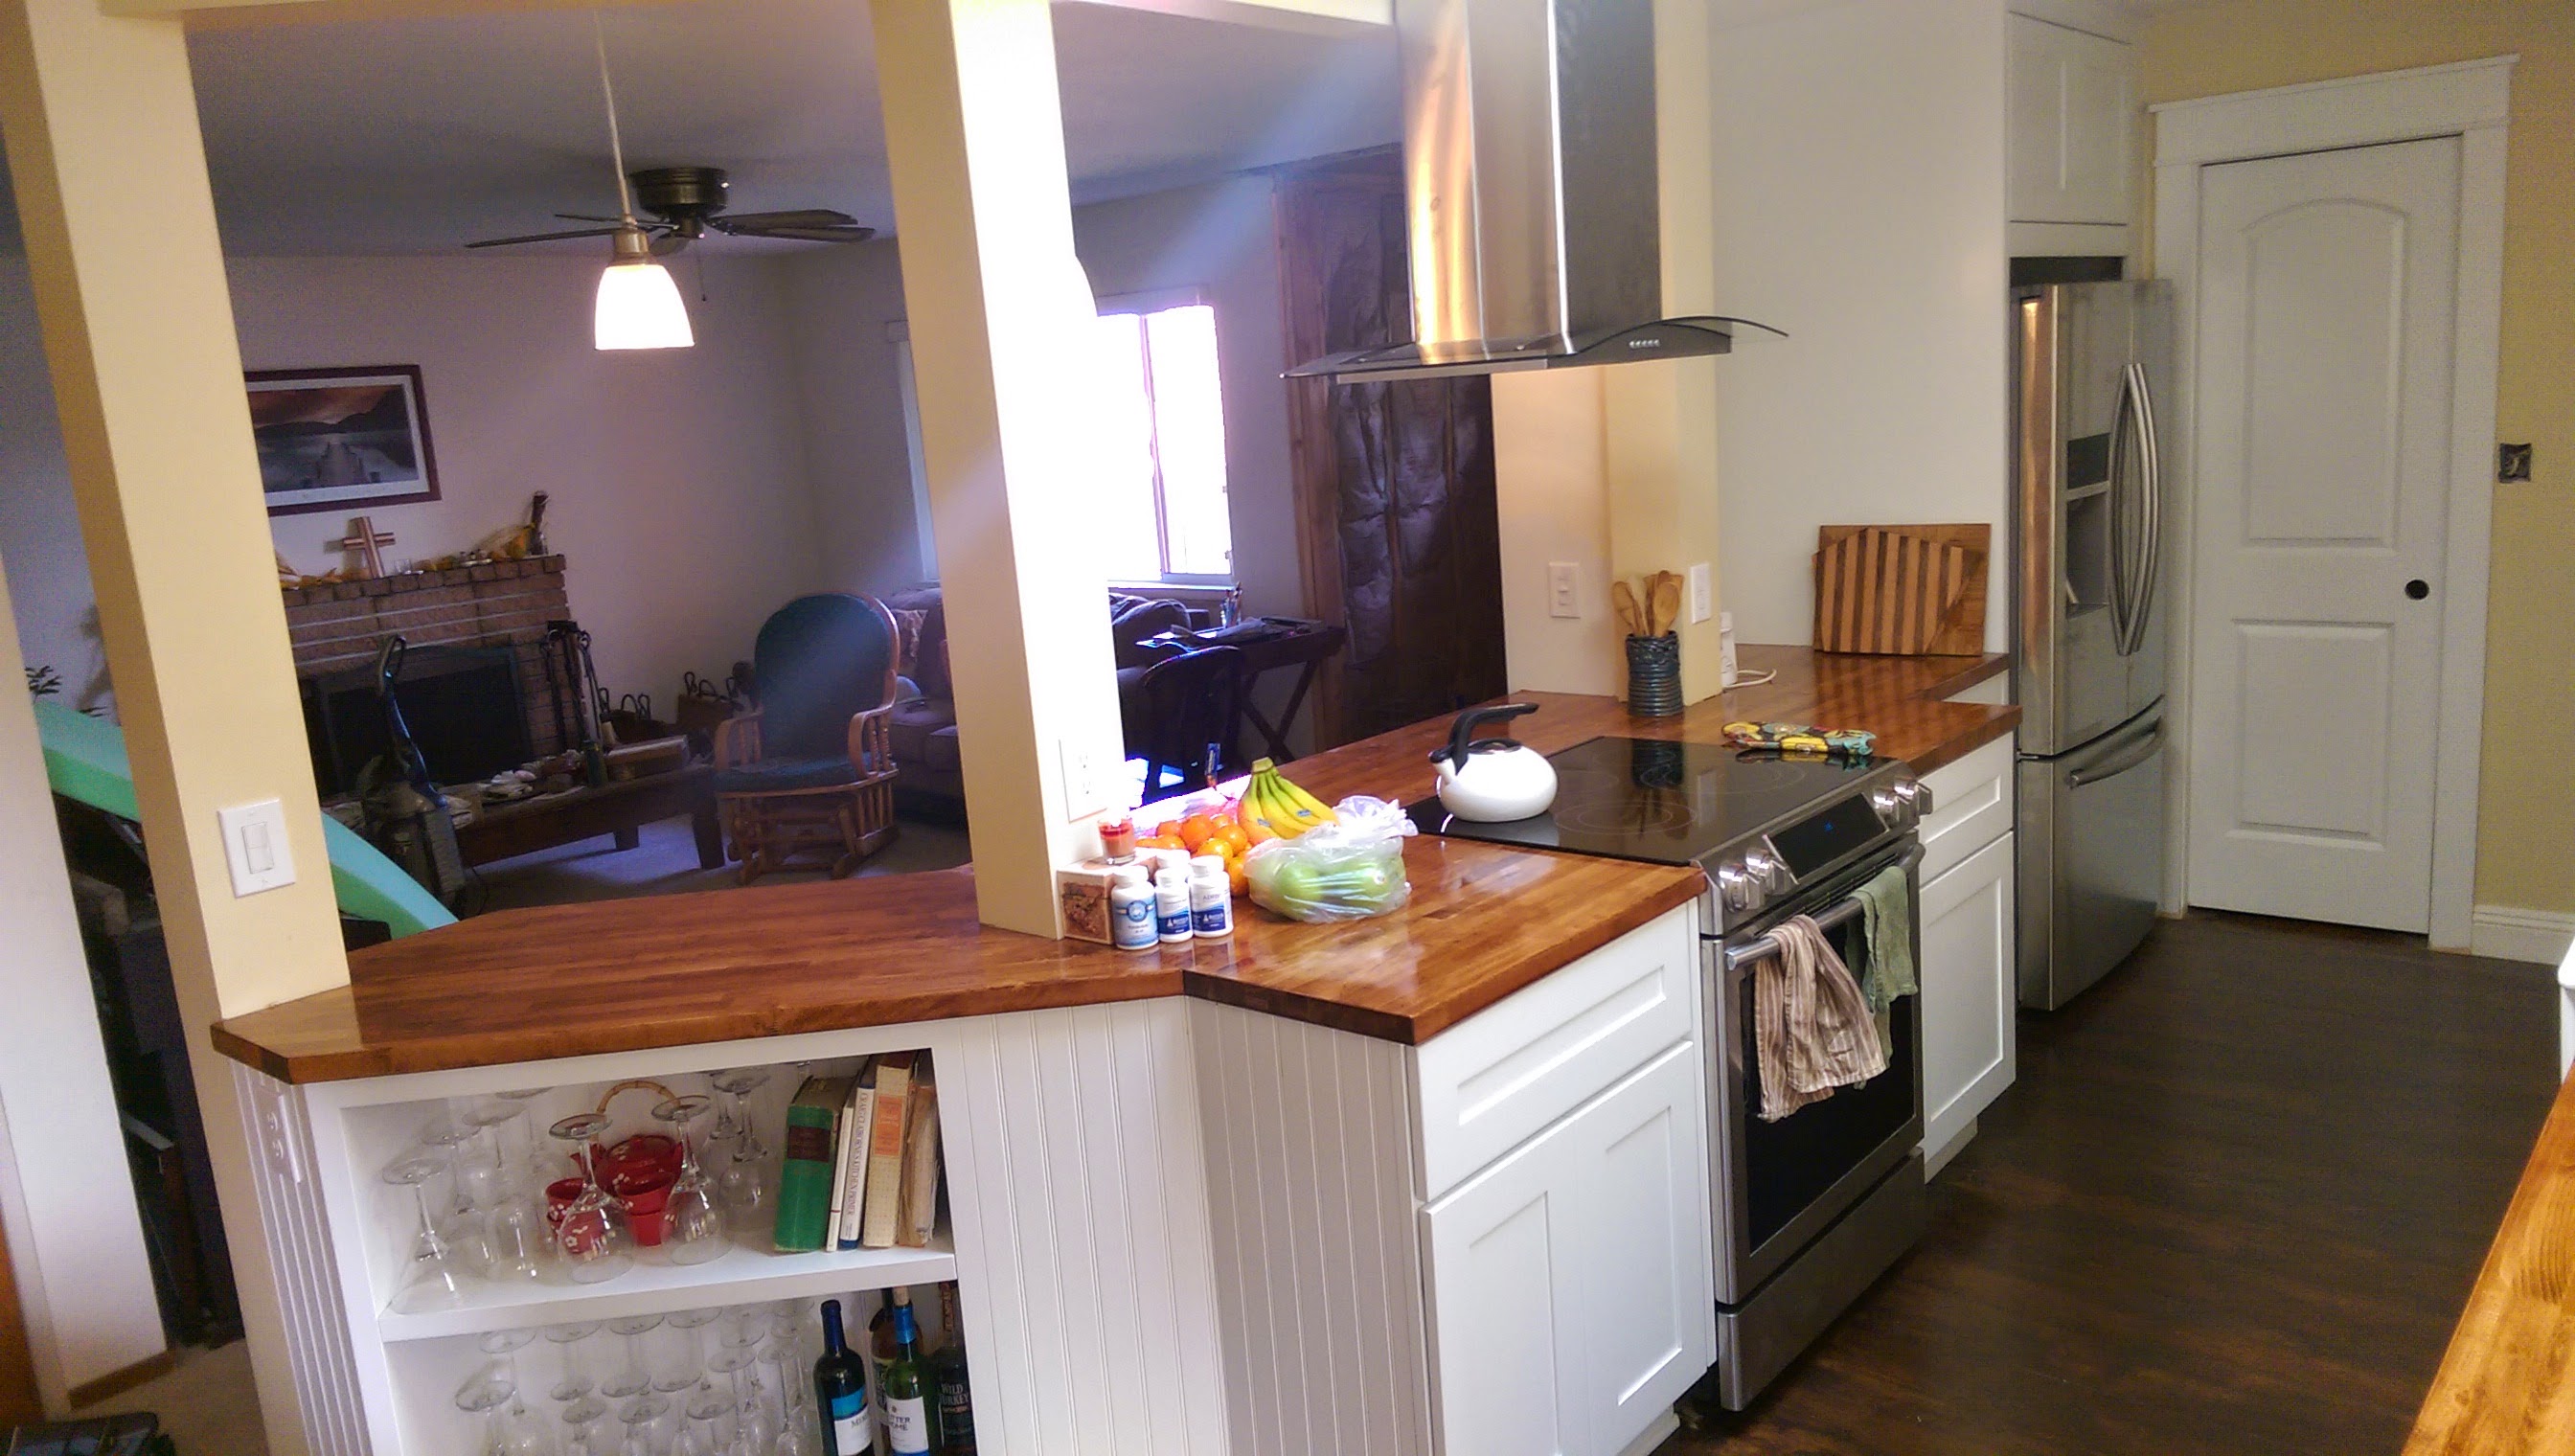
Here’s after a coat of Waterlox finish;
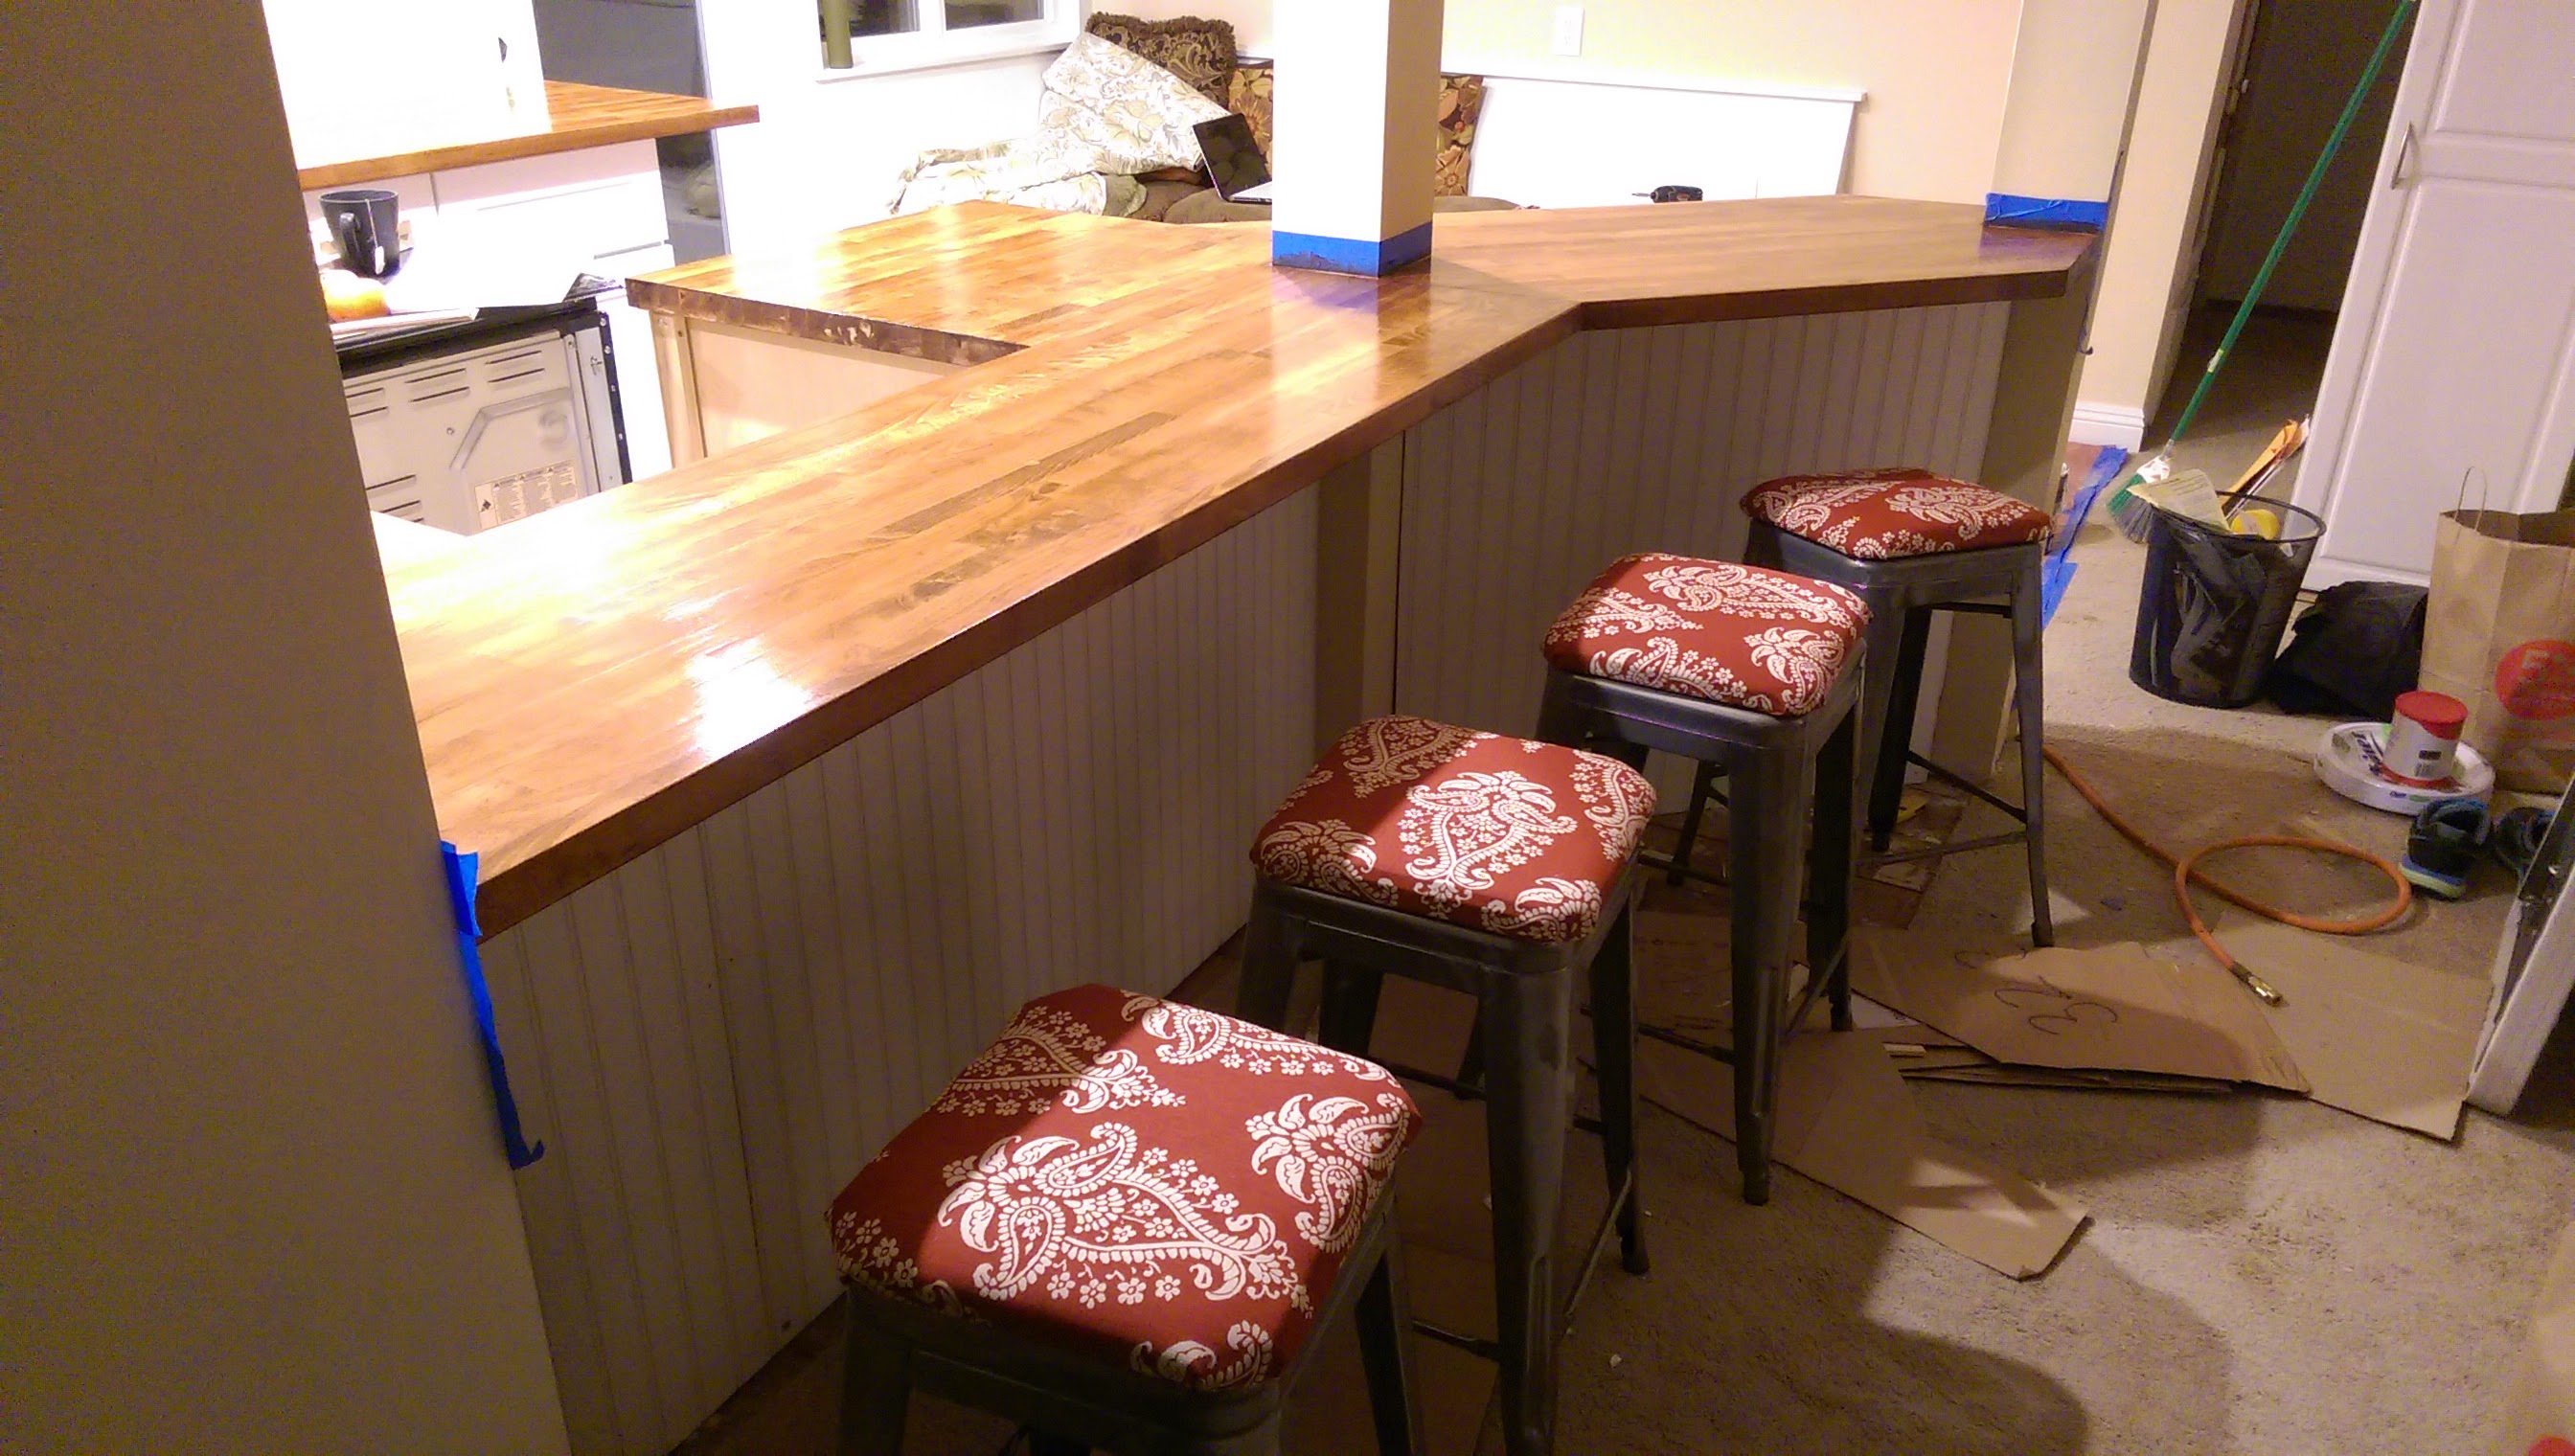
Dealing with a small space and having a love for entertaining, we tried to squeeze in all the seating areas we could, so we used the peninsula overhang to create a bar seating area. It has turned out to be one of the most popular spots for newcomers in the house.
To put a little extra pressure on, we decided to invite the whole family over for Thanksgiving. We were literally installing the pendant lighting in the night before at 10 PM. We had purchased the house in December 2013, and by November 2014, our kitchen was getting closer to completion. Brian was ready to party.

However, the adventure didn’t end there! We still had that pesky front door to put on, the bump out to complete, pantry to finish, front window to replace….. you get the idea. Join us on Part 4 as we keep marching on with our urban farmhouse remodel.